Author Archives: Daniel Meisterhans

The simple way how to automate printer settings

The Problem

Printer settings are saved per user in the registry under the following key names: “HKEY_CURRENT_USER\Printers\DevModePerUser” and “HKEY_CURRENT_USER\Printers\DevModes2”. Best practice to be enterprise aware is to redirect those settings in a per machine (for all users) location. The settings will then be the same for every user. Deploying settings per user often needs much more effort to ensure that the settings are present to each user than deploying it per machine.

The Solution

Use the build in system api call in PRINTUI.DLL to export the needed printer settings. As result there will be a configuration file that can be used for automation purposes like command line or Custom Action in a Windows Installer based setup file and the printer settings will be automatically per machine based.

First the Printer settings must be set on a clean machine, for example:
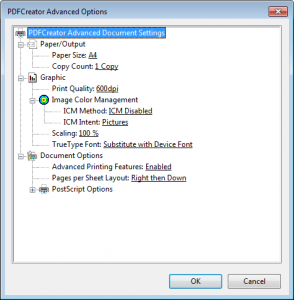
PrinterSettings

Then the settings can be exported by using the following command line:
“C:\Windows\System32\rundll32.exe” PRINTUI.DLL,PrintUIEntry /Ss /n “PrinterName” /a “C:\SettingsFile.dat” /q g d r

The value “PrinterName” is the name of the printer you want to save the settings.
The value “C:\SettingsFile.dat” is the location and files where the printer details will be stored.

To import the settings on a client run the following command line:
“C:\Windows\System32\rundll32.exe” PRINTUI.DLL,PrintUIEntry /Sr /n “PrinterName” /a “C:\SettingsFile.dat” /q g d r

This command line can be used as example as a Windows Installer custom action:

Add the file “SettingsFile.dat” to the installation and create a new custom action at the end of “Execute deferred”:
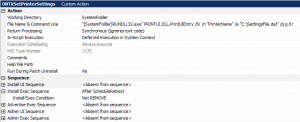
printersettings


Professionally remove Excel Add-Ins

The Problem

After uninstalling an application that contains a per user based Excel Add-In (.xlam or .xla), you should start Excel to double-check if an warning message like this appears:

The Reason

Excel installs and registers all automation Add-Ins by default in a per user based location, if they are installed via a script or the Excel GUI.

During uninstall process of an application that has installed such an Excel Add-In the process can only uninstall the registration information of this Add-In in the user context that executes the uninstall process. That means if the application has been used by different users, there will be the registration part left in the other user profiles. Excel will try to load the Excel Add-In, even if the file it self has been removed and this will prompt the warning message.

The Solution

Remove the Excel Add-In registration information from all user profiles. This can be done by using Microsoft Active Setup as the the script we use needs to be executed on each user that operates on the workstation.

This is the location where the Excel Add-In registration information will be stored

[HKEY_CURRENT_USER\Software\Microsoft\Office[Version]\Excel\Options]

The Script

The script is a VBScript.

It needs the full path to the Add-In as an argument.

Example: RemoveExcelAddin.vbs “C:\Hyperion\SmartView\Bin\HsTbar.xla”

This is the source code of the script:

Dim oXL, oAddin
Set oXL = CreateObject(“Excel.Application”)
strPath = WScript.Arguments.Item(0)
oXL.Workbooks.Add
Set oAddin = oXL.AddIns.Add(strPath, False)
oAddin.Installed = False
oXL.Quit
Set oAddin = Nothing
Set oXL = Nothing

Implementation in the Package (32bit)

You need to add the file “RemoveExcelAddin.vbs” to a folder at your choice in the package. Exp. “C:\Windows\System32”.

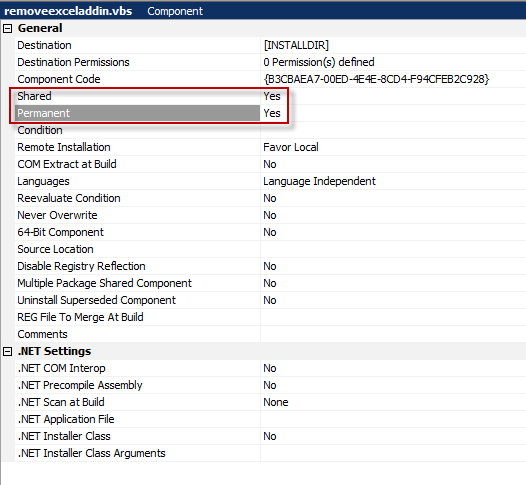
The component which contains this file, must have the following settings:
Comp

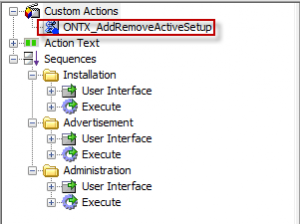
You need to implement a Custom Action “New vbscript stored in custom action” to the package:Cust

The script will add an “Active Setup” to the computer when the product is uninstalling:

Set WshShell = CreateObject(“WScript.Shell”)
WshShell.RegWrite “HKLM\SOFTWARE\Microsoft\Active Setup\Installed Components\RemoveExcelAddon\”, “RemoveAddon”, “REG_SZ”
WshShell.RegWrite “HKLM\SOFTWARE\Microsoft\Active Setup\Installed Components\RemoveExcelAddon\StubPath”, “C:\Windows\System32\RemoveExcelAddin.vbs ” & Chr(34) & “C:\Hyperion\SmartView\Bin\HsTbar.xla” & Chr(34), “REG_SZ”
Cust2

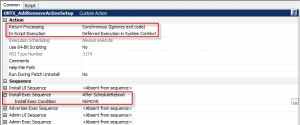
The Custom Action must have the following properties:
Cust1

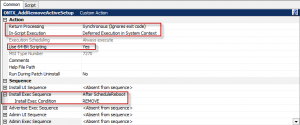
The 64bit Custom Action must have the following settings:
cust3


Packaging Tools for OS X

Finding the best tool is sometimes very difficult. This is why i show you here my favorite packaging tools for OS X.

Iceberg

Iceberg is an Integrated Packaging Environment (IPE) that allows you to create packages or metapackages conforming to the Mac OS X specifications. It’s easy to use and offers a lot of settings.

http://s.sudre.free.fr/Software/Iceberg.html

Absolute Manage InstallEase Package Creation Utility

Absolute Manage InstallEase Package Creation Utility is used for creating snapshots. This tool can create an project file for Iceberg. I use it only for the creation of snapshots and uninstall packages.

http://www.absolute.com/products/endpoint-management/InstallEase

XCode

XCode needs to be installed in order to create uninstall packages with the Absolute Manage InstallEase Package Creation Utility. This tool can also be used for package creation.

https://developer.apple.com/technologies/tools/

How to disable auto updates for Google products

Google Updater (Omaha) is a background program/service which keeps all installed Google products up to date. 

The Google Updater can be disabled for all Google Products by adding 2 Registry Keys:

[HKEY_LOCAL_MACHINESOFTWAREPoliciesGoogleUpdate]
“InstallDefault”=dword:00000001
“UpdateDefault”=dword:00000000
 
Name Values Description
InstallDefault Disallow
00000000
Allow
00000001
Specifies whether Google software can be installed using Google Update/Google Installer.
UpdateDefault Disabled
00000000
Automatic silent updates
00000001
Manual updates only
00000002
Specifies how Google Update handles available updates.

If you want to deactivate the Google Updater for a specific Google product, use the following Registry Key:

[HKEY_LOCAL_MACHINESOFTWAREPoliciesGoogleUpdate]
"Update[GUID]"=dword:00000000

The GUIDs can be found in the following table:

Product GUID
Chrome {4DC8B4CA-1BDA-483E-B5FA-D3C12E15B62D}
Earth {74AF07D8-FB8F-4D51-8AC7-927721D56EBB}
Earth Pro {65E60E95-0DE9-43FF-9F3F-4F7D2DFF04B5}
Earth Plugin {2BF2CA35-CCAF-4E58-BAB7-4163BFA03B88}

The GUIDs may change in the future. Keep yourself up to date by downloading the current ADM File which contains the corresponding GUIDs: Download.

Regards,

SPA Team

Search and Replace Script with AutoIt

The Problem

Hardcoded Paths, Licenses and Computer Names are often saved in static files. MSI doesn’t have a standard action for changing content in a static file. Because of that I have created an AutoIt script that can handle this lack of build in Windows Installer functionality.

AutoIt is a very common tool for system administrators and software packagers as the compiled binary file does not depend on a runtime or prerequisite

The AutoIt Script

This is the code of the script:

$strFilePath = $CmdLine[1]
$strFind = $CmdLine[2]
$strReplace = $CmdLine[3]$strText = FileRead($strFilePath,FileGetSize($strFilePath))
$strText = StringReplace($strText, $strFind, $strReplace)
FileDelete($strFilePath)
FileWrite($strFilePath,$strText)

The Command Line – as example replacing a server name in a text file

Replace.exe “[PathToTheFile]” “[SearchForString]” “[ReplaceWithString]”

PathToTheFile: exp. “C:\Program Files (x86)\Mathcad\Mathcad Prime 1.0\MathcadPrime.exe.config”

SearchForString: exp. “7788@test”

ReplaceWithString: exp. “7788@licsvr”

Implementation in a Windows Installer based Package

Add a new Custom Action in the Deferred Context:


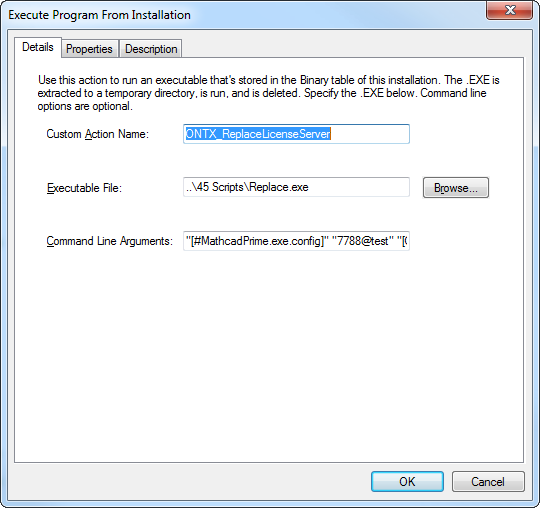
Enter the Details for the Custom Action:

Select the script via clicking onto “Browse”.

Command Line: “[#MathcadPrime.exe.config]” “7788@test” “[ONTXPRIMELICENSEPORT]@[ONTXPRIMELICENSESERVER]”


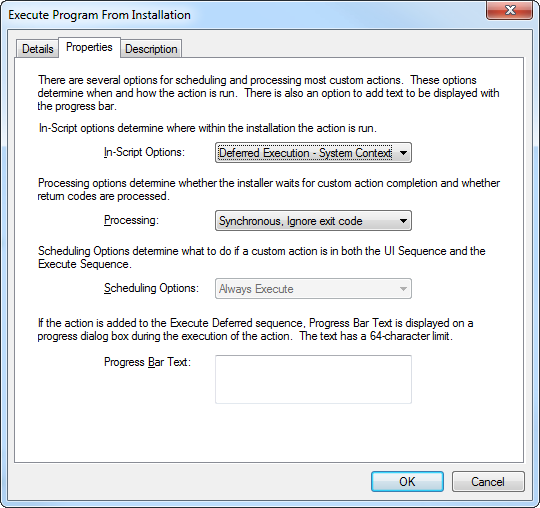
Enter the Properties for the Custom Action:

Don’t forget to set “Processing” to “Synchronous, Ignore exit code”.